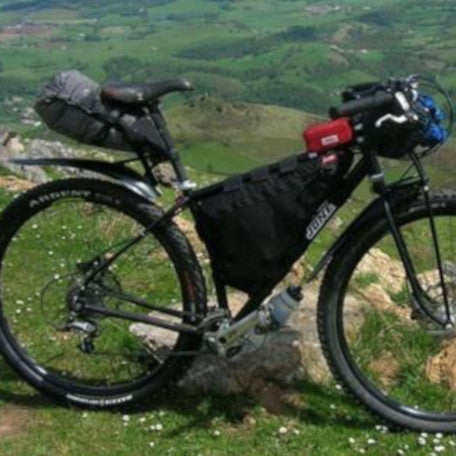
James Olsen's frame bag list helps you pack efficiently. He details his setup to help you make the most of your bikepacking frame bag on your next adventure.
James Olsen, the bike designer behind Genesis Croix-de-fer and Pinnacle bikes, shares his frame bag kit lists.
"One of an ‘ultralight’ geek’s favourite pastimes. I’ve seen spreadsheets with options and weights, every item recorded down to the last gram. Even the weight of three Elastoplasts. I admire the dedication, but I’m too slack and my scales are cheap and not that accurate.
Alpkit is right about bike-packing being ‘Alpinism on a bike’ though - excess weight will turn you into a dawdling tourer and that’s no fun. If you prioritise the riding experience then you’ll need to embrace ultra-light kit.

However, I am not sure weight itself is the most important thing for the bike-packer. Lightweight kit is great, but where the weight lies on the bike is what makes a bike handle well, or poorly, off-road. That’s why bike-packing bags have made such a difference in rough-terrain touring, mainly by using that open space in the frame so effectively. Keeping the bulk of the weight off the steering and centred on the bike means you move that weight around less when making all the moves you would on an unloaded mountain bike. It’s easier to roll the bike side-to-side when climbing out of the saddle when hopping small obstacles or lifting the front to clear a drop-off. It adds manoeuvrability and saves energy and it’s more fun.

For that reason, I think a good frame bag is the most important part of bike-packing luggage. It’s where all the heavy or dense items should go so it needs to be robust and well-fitted to the bike. Unfortunately, that means a custom bag for most of us, but it is money well spent that opens up a whole new world of rides.
So, kit lists. in my Alpkit frame bag is most of my regularly-accessed kit and the heavy / dense items. It weighs around 2.5-3kg in total depending on the trip and fuel supply / stove type, up to 3.5-4kg with a few days' supply of coffee, snacks and ‘dinner + brekky’ food stuffed in there.

The main ingredients are -
Repair kit – allen keys or multitool, a small Leatherman or other tools with pliers on, any tools specific to your bike, a UST tyre/tube/thermarest repair kit and a pump, some spare bolts, plus brake pads on longer rides. At least one spare inner tube and something to fix a cut tyre. Packed in an old draw-string sunglasses bag that I can tie the cord round to stop the rattle.
Cooking kit – A stove and fuel, a fire-steel and/or lighter, a spork or Tifoon and a MyTiMug to hold it all. Maybe a small aluminium pan for longer trips. I like the MSR Pocket Rocket and a small gas can that fits inside the MyTiMug perfectly, or a beer-can stove and a small bottle of meths. Packed in a carrier bag as I like wood-fires (hobo can stoves are fun to make and use) and there’s often soot on the pan.
Night-time kit – A headtorch, an MP3 player, a small wash kit and toothbrush and some antibacterial gel that works well in between showers. Earplugs if you want to sleep through the dawn chorus. Packed in a mesh bag for easy drying and wrapping-up.
First aid / medical kit – Basic stuff to fix cuts, road rash and other irritations. A sling, sun cream and burn-block, Ibuprofen, Pro-plus etc. A hipflask too perhaps. Packed near the top of the frame bag is the first-aid kit bag – it’s red with a big cross on it, so if anyone needs to find it fast, hopefully they will.

Plus,
A tarp, lines and 6 small pegs – in its own stuff bag
A camera (small / basic, not an SLR) – in an old padded phone bag
Coffee making kit (aka morning kit), a filter holder and filters is the lightest and most packable method I’ve found, instant has no place on a bike trip – in a ziplock bag, kept flat in the frame bag’s map pocket
A 5l Airlock with spare gloves and socks that doubles up as a pillow
A small stuff-bag for phone, spare battery or charger and the MP3 player
Paperwork – passport, maps, a book or notebook etc. – in another ziplock bag in the map pocket

All those items are relatively dense and most pack into small ‘pods’ based on when you use them. Using small bags like Airlocks, Vortex mesh stuff sacks or carrier bags to wrap things in groups helps pack in a repeatable and efficient way. How you arrange the kit-pods will depend on what you take and the shape of your bag, but if you aim to compress things vertically in stacks rather than widthways when packing them in, it should rattle less during that first trail shakedown. It’s better to brace everything between the frame tubes than strain the bag sides. I find the most regularly accessed things are best at the front of the bag, evening kit like the tarp and torch go near the bottom. The MyTiMug holding the cooking kit goes toward the rear/base of the bag also, braced against the seat tube due to its shape and weight. Some things just jam in well in a particular place – like an inner tube in the front corner of the frame bag or a tarp stuffed at the bottom corner.

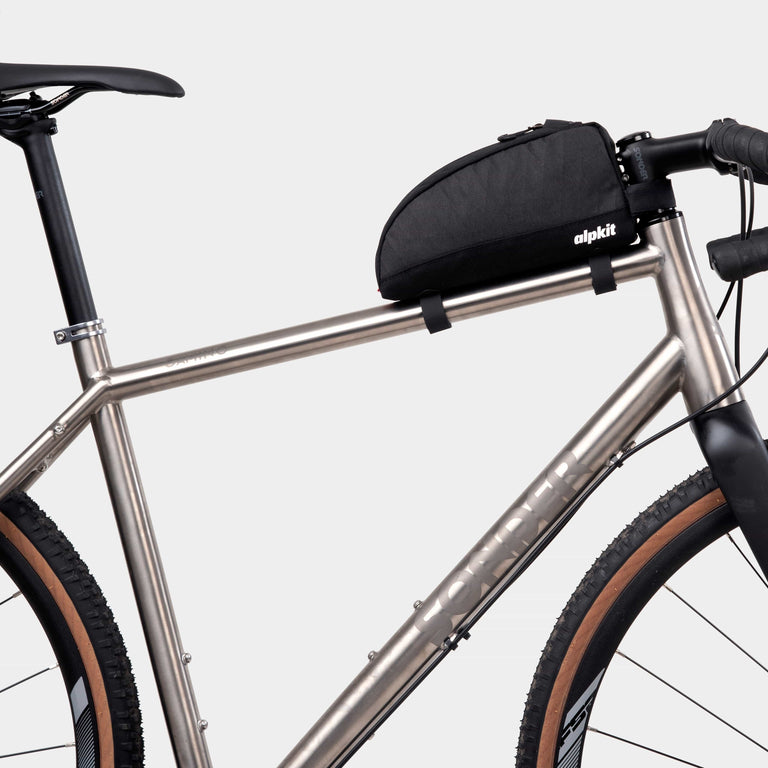
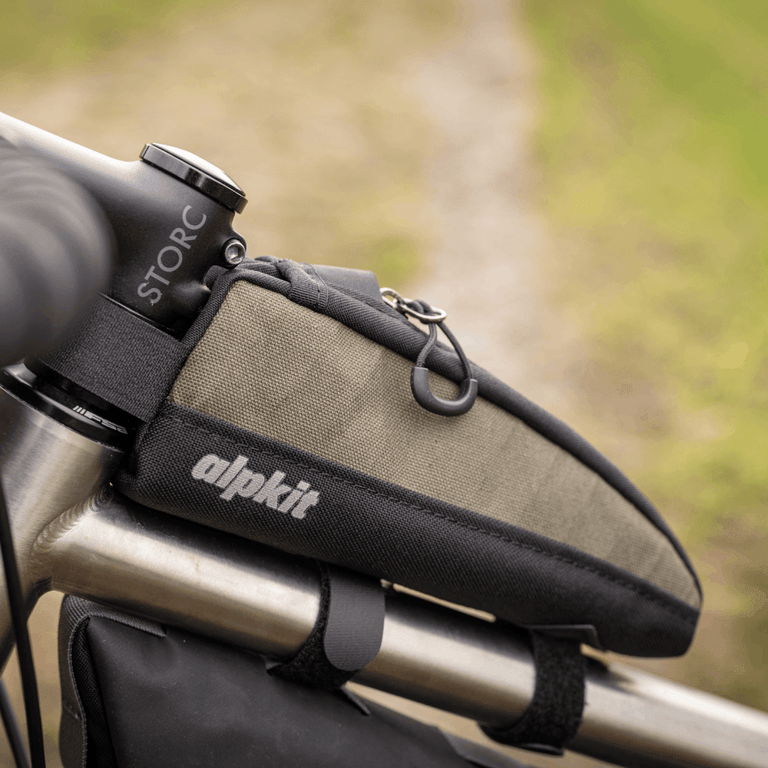
A ‘gas tank’ bag on the top tube is really good for keeping snacks or a small camera, Ipod, money, etc close to hand – I have a light triathlon-bike feed bag; others use a chalk bag on the bar or a full-size Revelate bag.
The rest of the kit should be your bulky but lighter items – clothing and your sleeping gear.
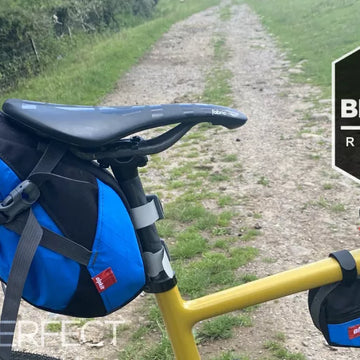
Most bike-packers use a seat pack or a dry bag strapped below the saddle. I put a down sleeping bag or clothing and a warm evening jacket in here – ideally, nothing I’ll need while riding as I don’t want to open this bag in the daytime if it’s wet; they tend to get muddy. My seat pack is almost waterproof, but if I thought there was a risk of a real soaking, I’d pop it all in an Airlok first. The seat pack holding a sleeping bag and a Filet down gilet plus a few random bits weigh about 1.5kg.
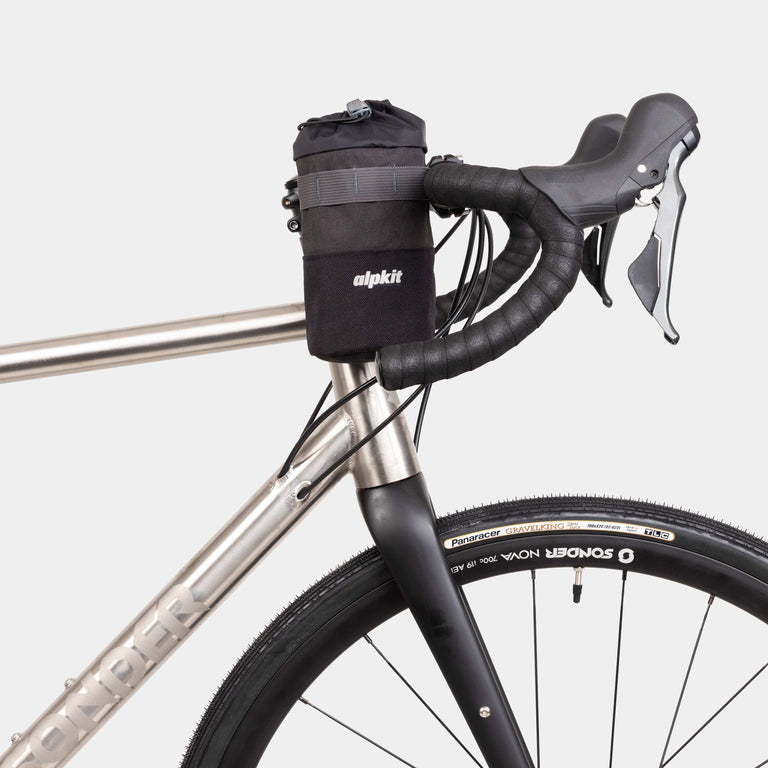
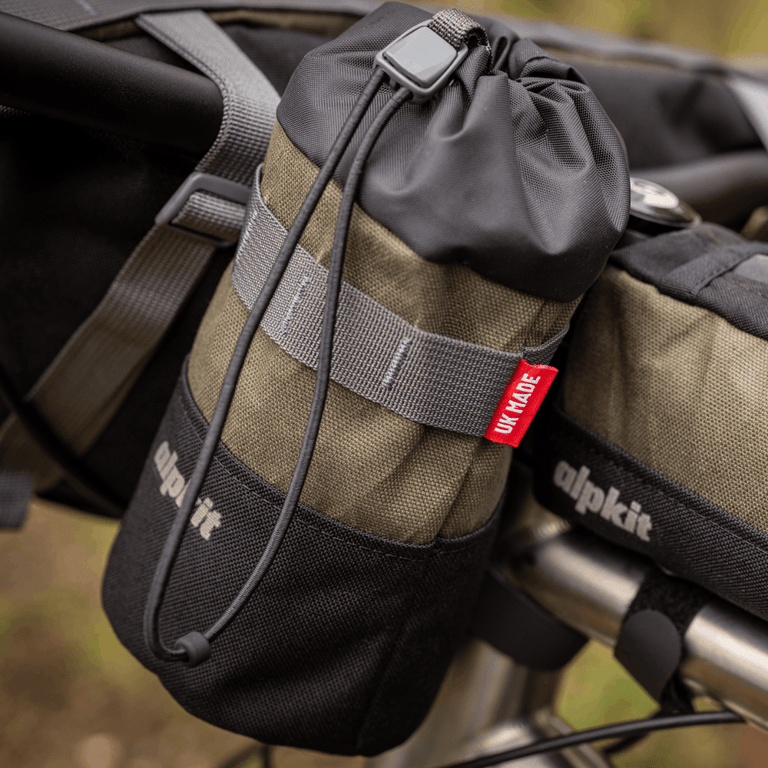
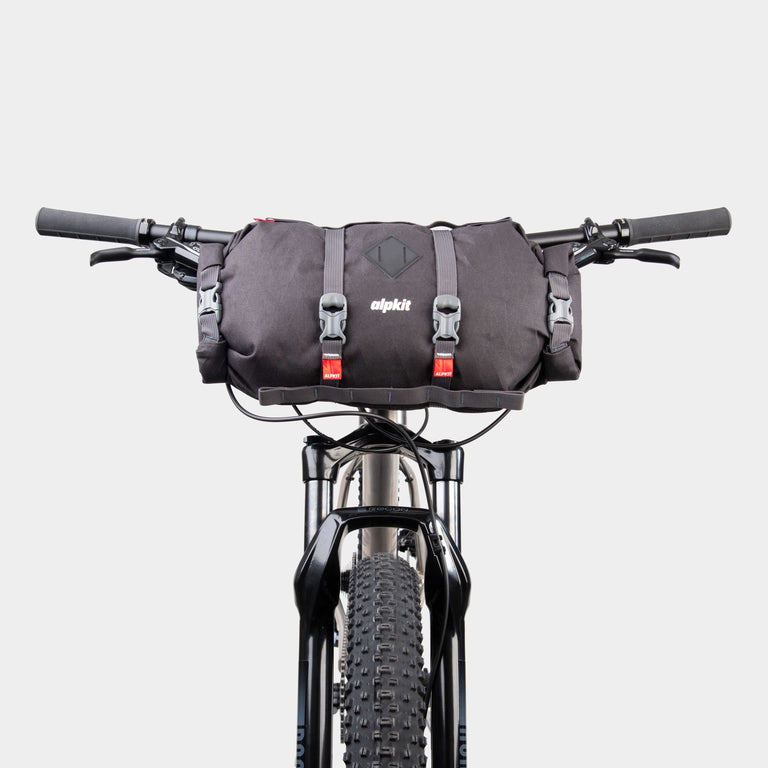
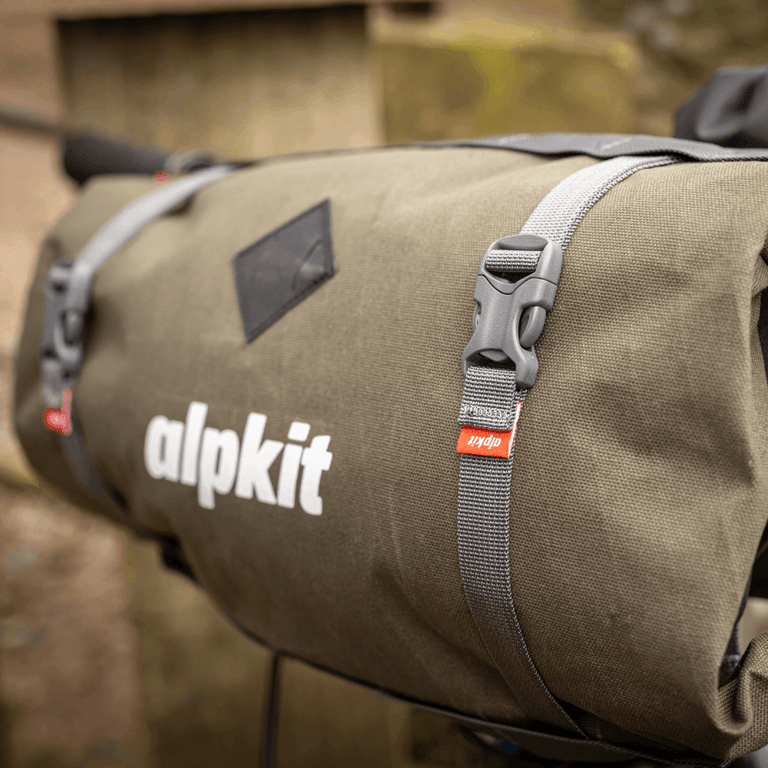
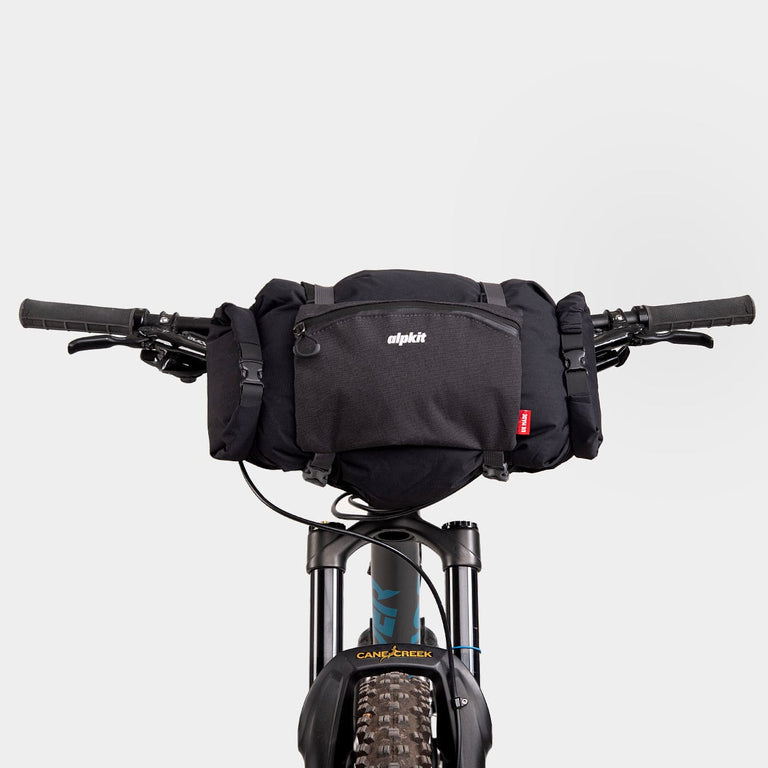
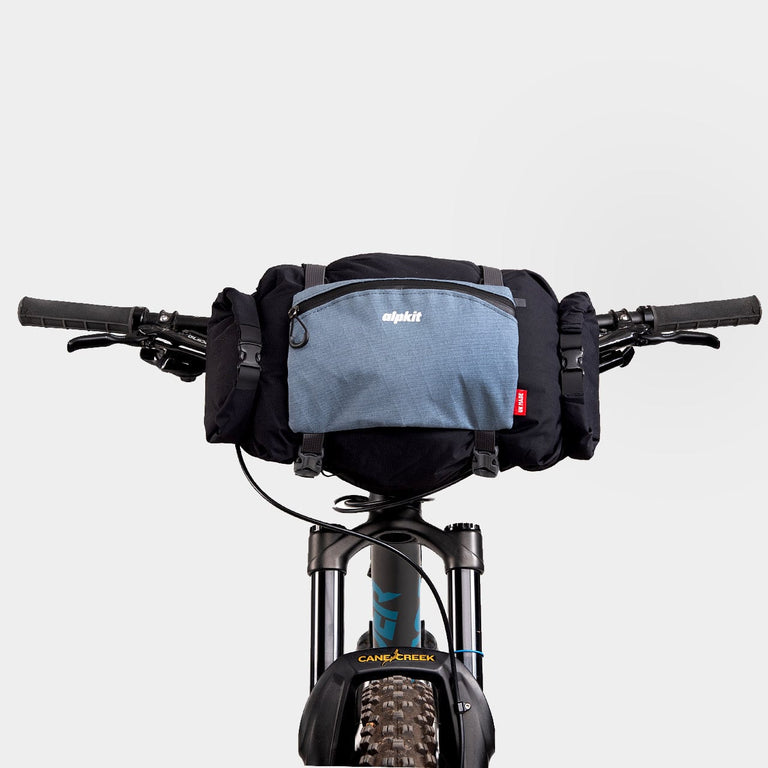
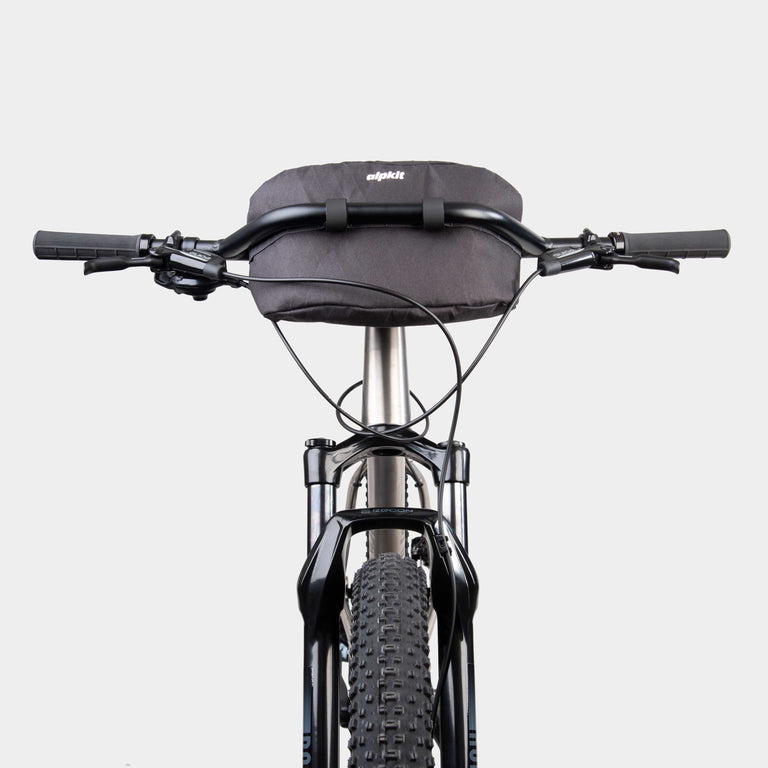
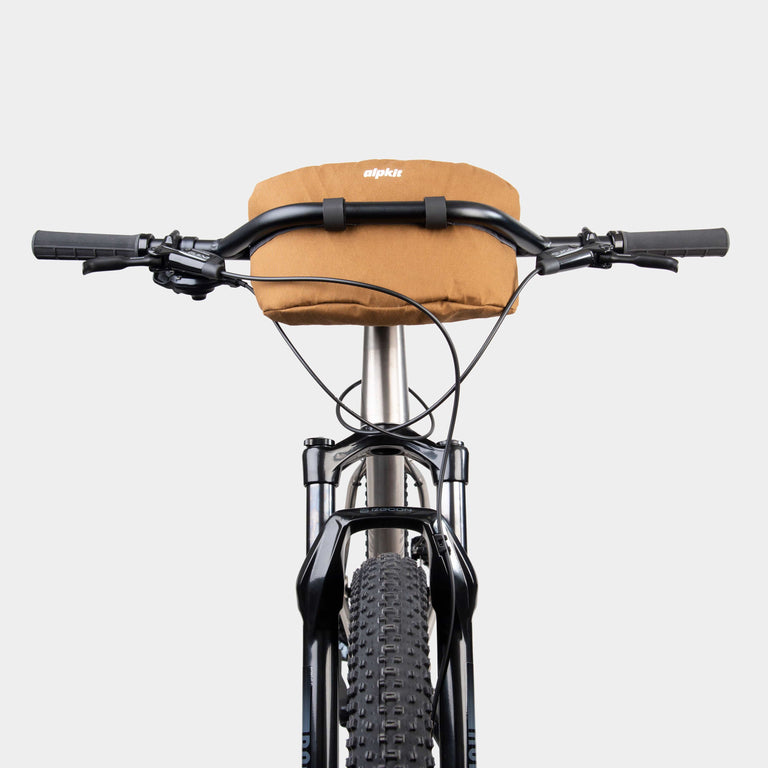
A Hunka bivvy bag and ground mat can be rolled up in an 11L drybag and strapped to the handlebar with little more than two lengths of webbing with buckles; at a kilo or just over it won’t interfere with your handling; I don’t notice up to 2 kg here if it’s kept tucked in and close to the steering axis. A sleeping bag can go here to keep the sleep kit together if you need more space in the compressible seat pack - sleeping bags roll easily and are more stable than a load of random items in a bar roll. Watch out for wear points; there are good bar-roll strap systems available if your stem, shifters or brakes are going to rub the dry bag. A bit of cloth or foam offcut can protect the stem easily.
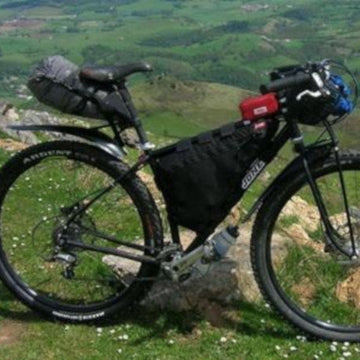
The ‘packing aim’ is that my packed frame bag weighs more than the seat pack and bar roll combined. It holds the densest items apart from water (hydration packs can work well held in a frame bag, but as you drink, you create space, and things get loose). This keeps the weight well-centred and makes the bike easier to handle since there’s little weight high up or on the bars; I’ve ridden friends' bikes that use bar bags plus a seat pack or bags on a rear rack, with no frame pack (or a very small one on a suspension bike) and the difference was really noticeable, particularly over technical terrain.

The rest of my clothing and a 3L hydration pack goes in a minimal 450g, 18L rucksack I used for my first road tours. It seems bigger than I need, but it’s comfy and light and has all-important space for stocking up in shops along the way. A 20l Gourdon would work well, being waterproof. Approx 2-2.5kg in total.
Since I wouldn’t want to carry much more than 2.5kg plus the 3L of water on my back, currently, my luggage capacity means an all-up kit weight at around 7.5-8kg plus food and water, or under 9kg with a small tent instead of a tarp. That seems like a sensible aim for lightweight multi-day trips – I seem to go a bit lighter each time and have a sub-4kg set-up to try out that should work well in warm, dry weather but isn’t as practical or comfortable otherwise.
The route featured here crosses the foothills of the Pyrenees from St Jean de Pied a Port and goes across northern Spain to Finisterre on the east coast. Some sections were as good as most of the Alpine XC I've done and there are loads of great dirt-track miles.
Get your own custom frame bag
If you need a specific size or shape for your frame, get in touch with Alpkit. They have been pioneering custom bike luggage made in the UK.
