Replacing an inner tube shouldn't be a mystery. With practice, it becomes a quick pit stop, letting you bounce back from flats and stay in the adventure groove.
A puncture on the trail is annoying at best. Changing an inner tube quickly and efficiently is a great skill to have in your armoury. Particularly if you’re riding with friends.
Tools Required
- Bicycle pump
- Tyre levers
- Spare inner tube
Steps
Release any remaining air in the tyre.
Remove the tyre. Start by going around the tyre with your hands and pinching the edges of the tyre together, this will disengage the beading of the tyre from under the lip of the wheel rim.
Opposite the valve use a tyre lever to pull the tyre over the side of the rim. If the tyre isn’t too tight it may come off the rim by holding the tyre over the rim and then pulling the tyre lever along the rim. This will leave a section of the tyre over the rim which can then be pulled around so that one half of the tyre is inside the rim and the other on the outside.
If the tyre is tight, another tyre lever may be required approximately 10cm from the first tyre lever to prise the tyre over the rim wall. It can then be pulling around.

Remember where the tyre was in relation to the innertube, as with the innertube out it can be pumped up to see the location of the puncture. This location can then be compared to the tyre to locate any debris or sharp objects in the tyre that can be removed.
Carefully run your fingers around the inside of the tyre whilst looking at the outside of the tyre. This way you will be able to feel anything on the inside of the tyre and see any objects on the outside of the tyre.
Open a new innertube and pump a small amount of air into it to give the tube some shape.
Fit the tyre back on to the wheel so that half of it is within the rim and the other half is outside.
Place the valve through the valve hole in the wheel and flip the outside of the tyre over the innertube.
Push the innertube under the tyre all the way around the wheel.
Starting back at the valve push the tube which is in the tyre over the lip of the rim so it is sitting within the rim.
Now starting opposite the valve, flip a section of the bead of the tyre over the rim wall. Continue flipping this bead over all the way around until the you reach the valve area. At this point, if the tyre is a loose fit the final section of the tyre which is outside the rim wall can be pushed inside the rim wall. If the tyre is tight, the use of tyre levers may be needed again.

When using tyre levers, take care that the innertube is not being pinched.
With the tyre completely inside the rim of the wheel, look at the small gap between the inside of the rim wall and the tyre beading and ensure there is no innertube showing which will pinch when the tyre is pumped up.
Pump the tyre up to its recommended air pressure which will be stated on the side of the tyre.
Stop pumping halfway and check that the tyre is seated correctly on the rim.
Tighten the valve to trap the air.
Bike Maintenance Series
This guide is part of our bike maintenance series. Explore the other guides:
- Eight Essential Trailside Skills for Bikepacking
- How to Deal with a Torn Bike Tyre
- How to Deal with a Snapped Chain
- How to Deal with a Snapped Rear Gear Cable
- How to Deal with a Broken Rear Derailleur
- How to True a Bike Wheel
- How to Adjust a Front Derailleur
- How to Adjust a Rear Derailleur
Credits
This content is brought to you by Alpkit and our friends at Bicycle Maintenance Guide. They have an app which makes a complete bike maintenance course.
Apple app - https://apple.co/2PFkqMT
Android app - bit.ly/2wOwWCM
This repair has been carried out on a component from a popular brand. If you are using a different component please refer to the manufacturers manual to ensure specific details of the component/task are known. The principles and general skills of the task can be transferred but maybe not the exact details.
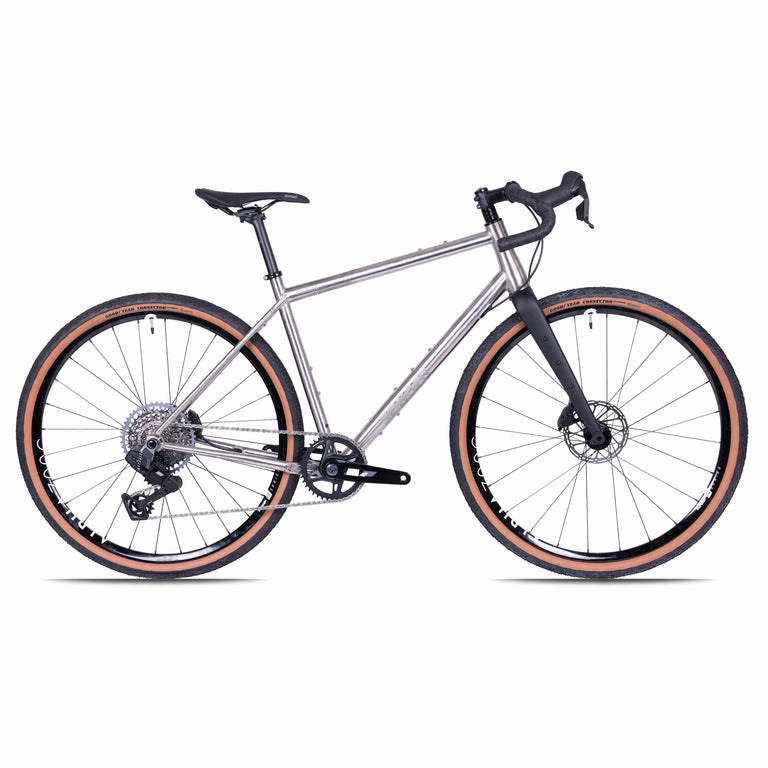
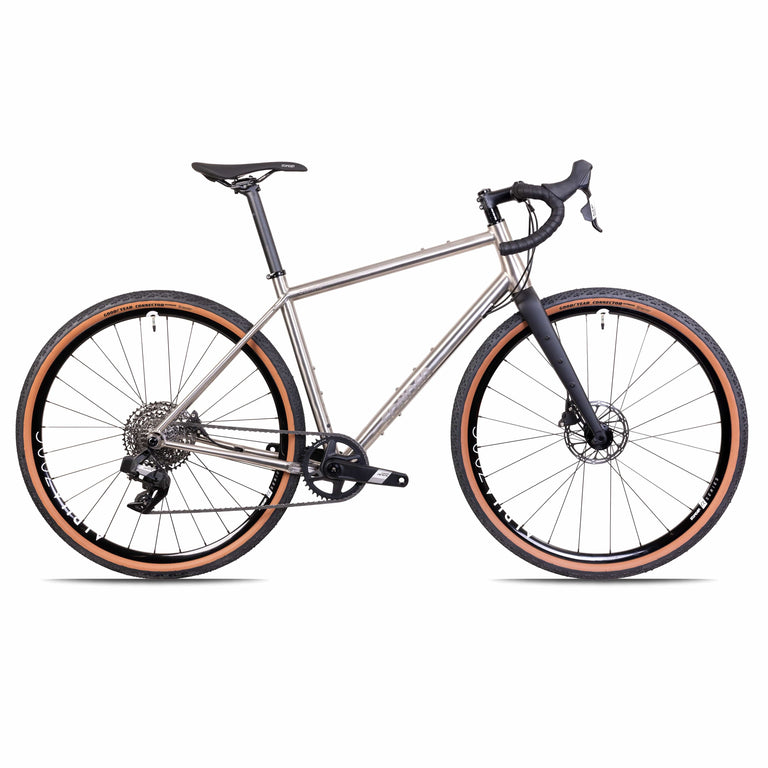
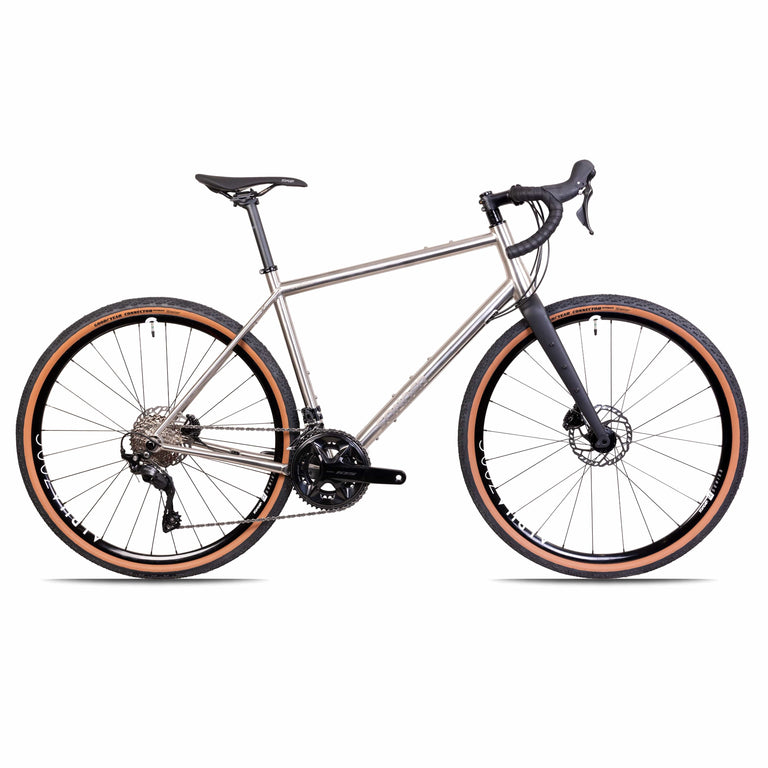
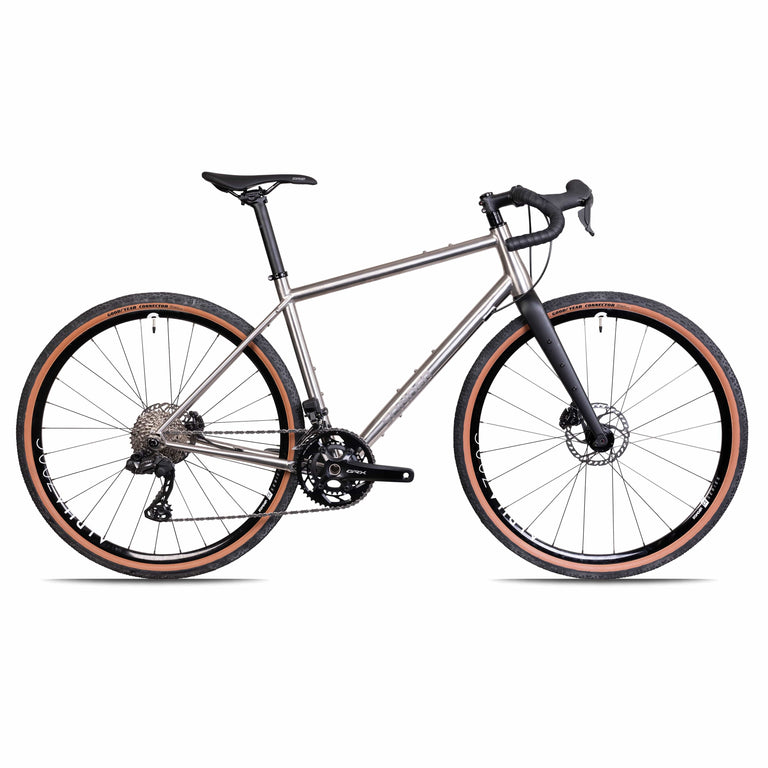
Sonder Bikes
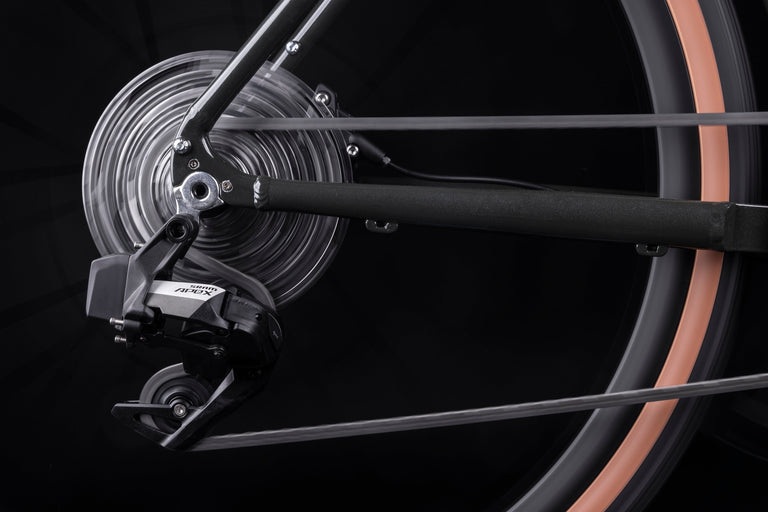
Camino Al Apex1 AXS XPLR
- Sram Apex AXS XPLR 12-speed groupset
- Sonder Nova I25 Gravel UK Made wheelset
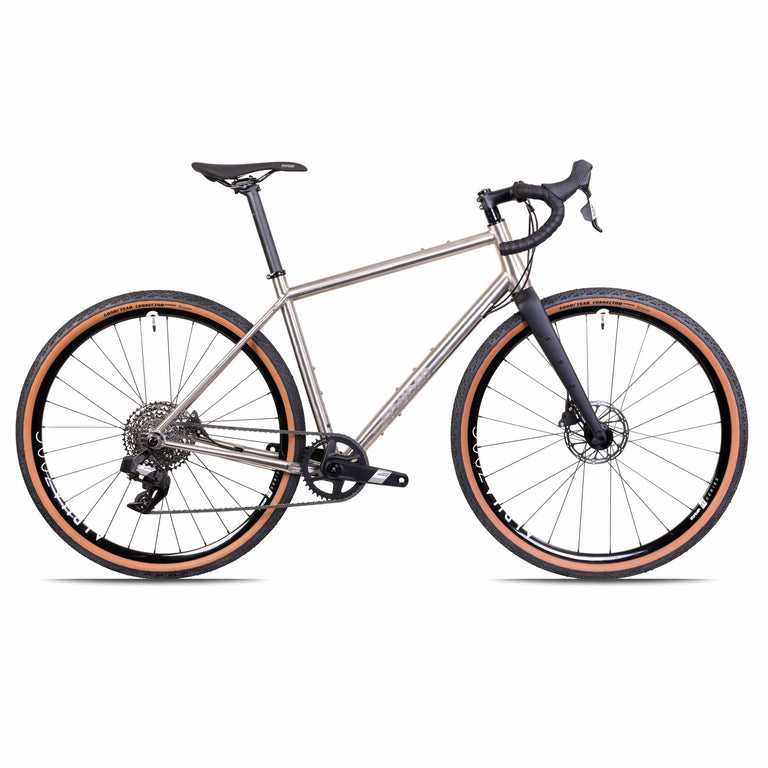
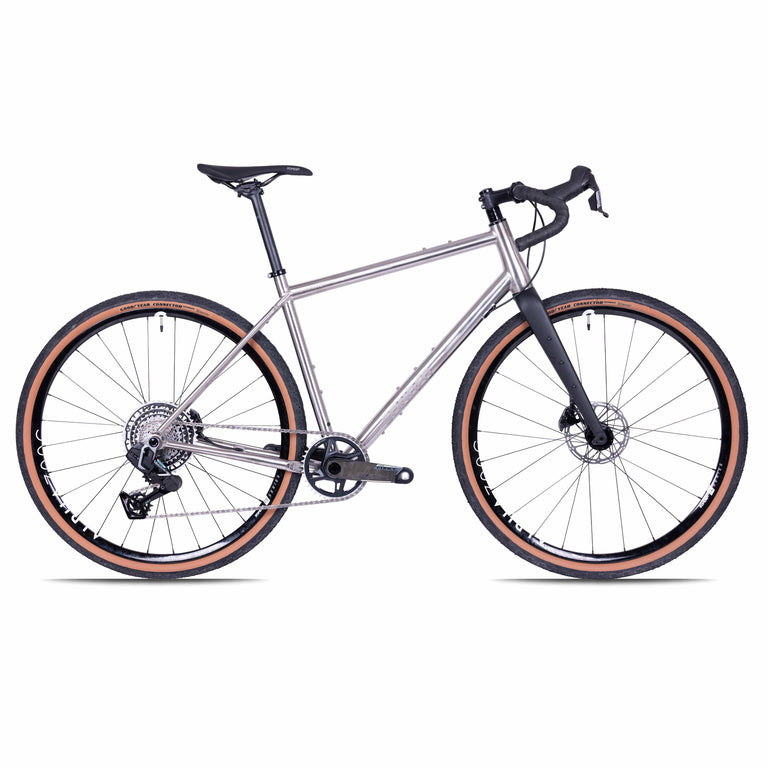
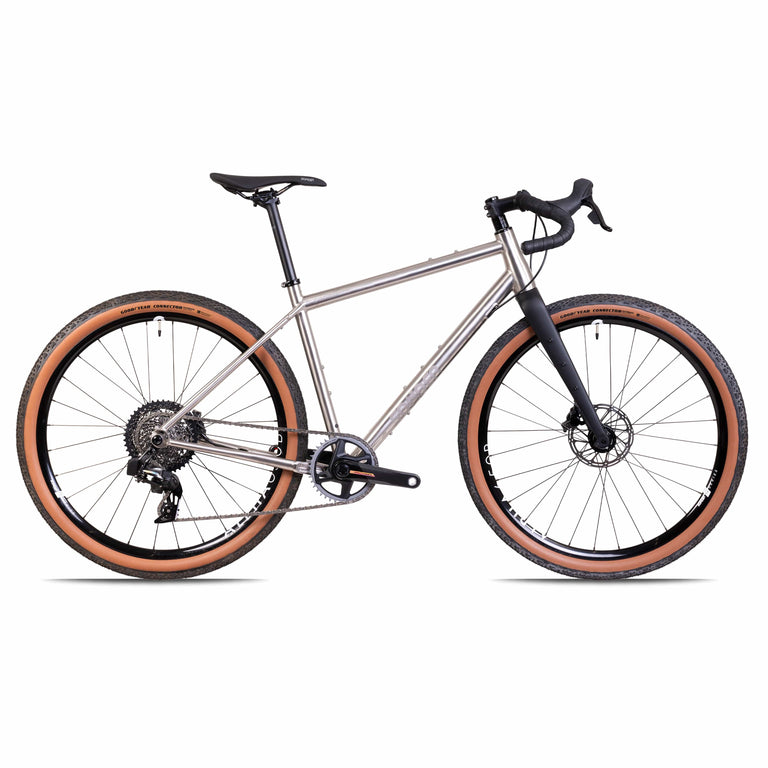
Camino TI Apex1 AXS XPLR
- Sram Apex AXS XPLR 12-speed groupset
- Sonder Alpha I25 Gravel UK Made wheelset
Camino Al Rival AXS XPLR
- SRAM Rival AXS XPLR 13-speed groupset
- Sonder Alpha I25 Gravel UK Made wheelset
Camino TI Force AXS XPLR
- SRAM Force XPLR 13-speed groupset
- Sonder Alpha I25 Gravel UK Made wheelset
Camino TI Rival AXS XPLR
- SRAM Rival AXS XPLR 13-speed groupset
- Sonder Alpha I25 Gravel UK Made wheelset
Camino Al Apex1 Flat Bar
- SRAM Apex 12-speed groupset
- Sonder Nova I25 Gravel UK Made wheelset
Camino Al 105 Di2
- Shimano 105 R7170 Di2 12-speed groupset
- Sonder Alpha I25 Gravel UK Made wheelset
Camino Al Frame And Fork
- 6061 aluminium frame
- Gravel geometry
- Carbon monocoque fork
- Huge tyre clearance


